Shapes and Lines
Shapes and lines can be used as design elements in a number of ways. Shapes behind text can make the text stand out, or various shapes can make the page more fun.
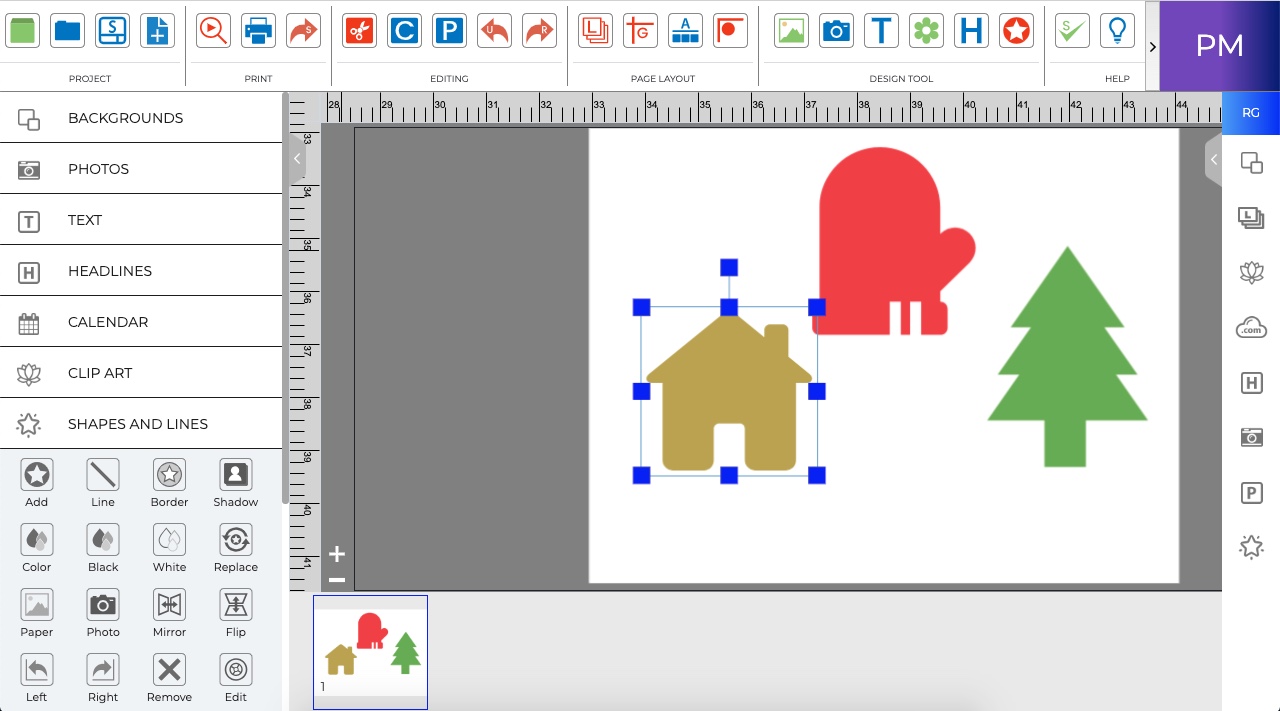
Icon Descriptions:
- Add – Add a selected shape to your page.
- Line – Add a selected line to your page.
- Border – Add a border around the selected shape.
- Shadow – Add a shadow to the selected shape.
- Color – Set a color the selected shape.
- Black – Set the shape color to black.
- White – Set the shape color to white.
- Replace – Swap the selected shape with a different shape.
- Paper – Fill the shape with a selected paper from the backgrounds categories.
- Photo – Fill the shape with a selected photo from your computer.
- Mirror – Flip the shape horizontally on the page.
- Flip – Flip the shape vertically on the page.
- Left – Rotate the shape left 90 degrees.
- Right – Rotate the shape right 90 degrees.
- Remove – Deletes the shape from the page.
- Edit – Displays shape info and allows you to adjust the size and position.
- Reset – Set the shape back to defaults.
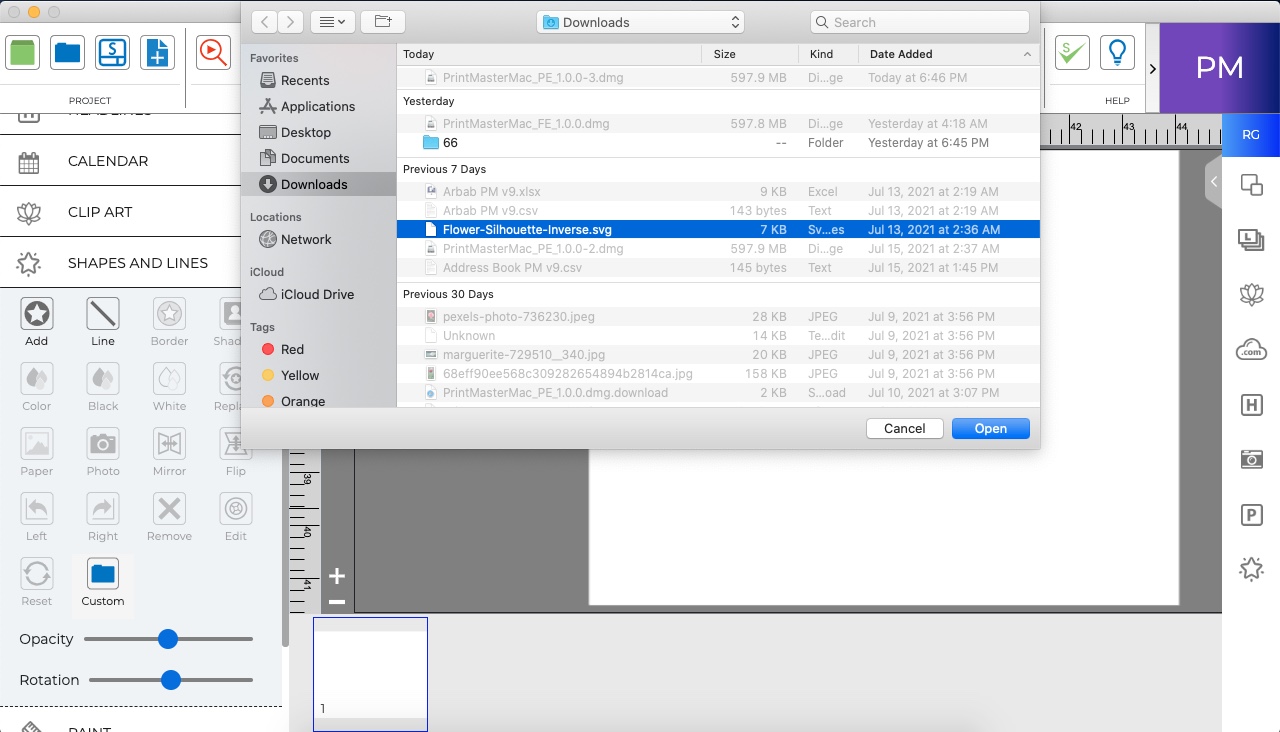
- Custom – Select your own custom .svg shape file from your computer.
- Opacity – Drag the slider left or right to increase or reduce the shape transparency.
- Rotation – Drag the slider left or right to apply a rotation.
Adding Shapes
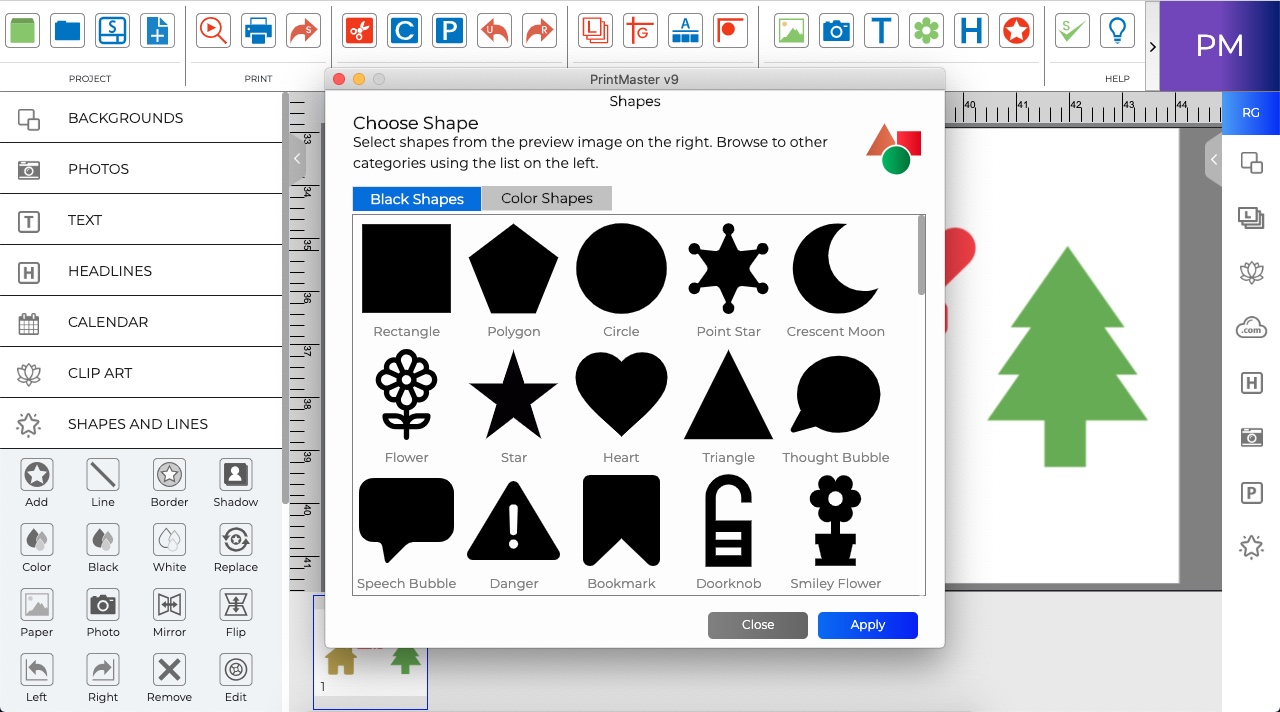
- Open the Shapes and Lines tab and click on the Add icon.
- Select your desired shape from the Category options and click Apply.
- Click Close when done adding shapes.
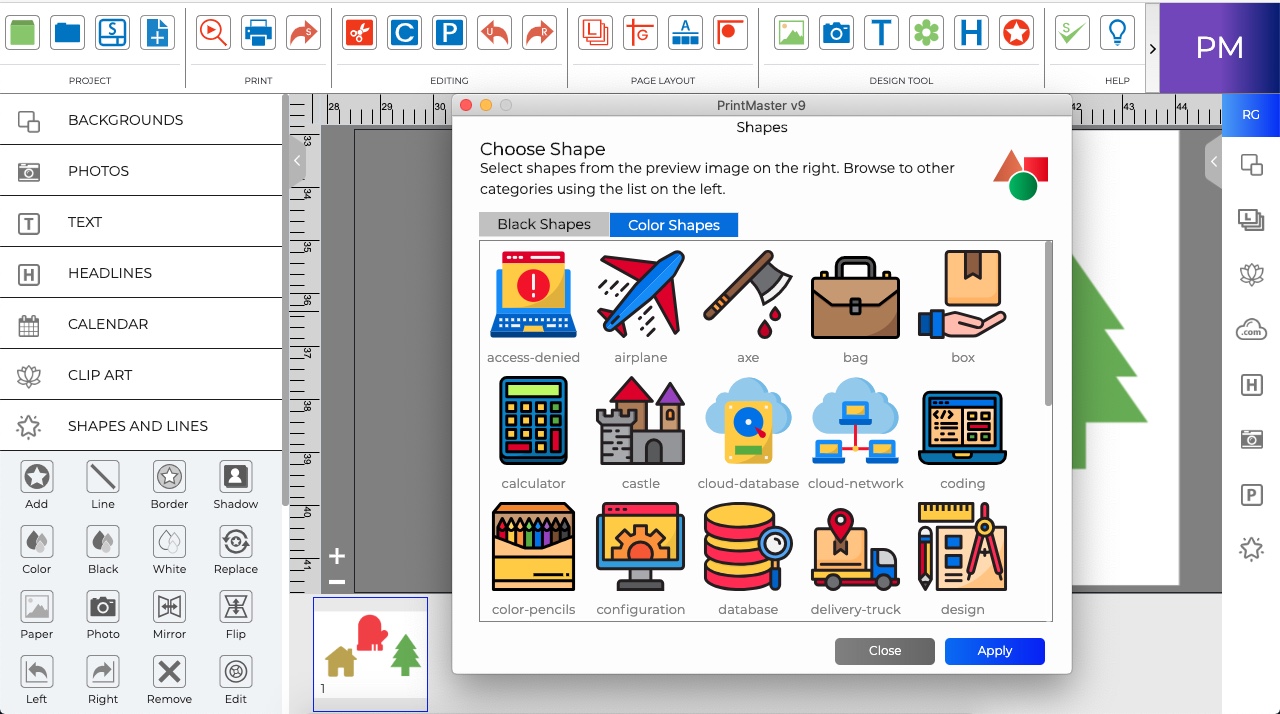
Note: Now you may also add the Colored shapes on Canvas screen.
Adding Shapes
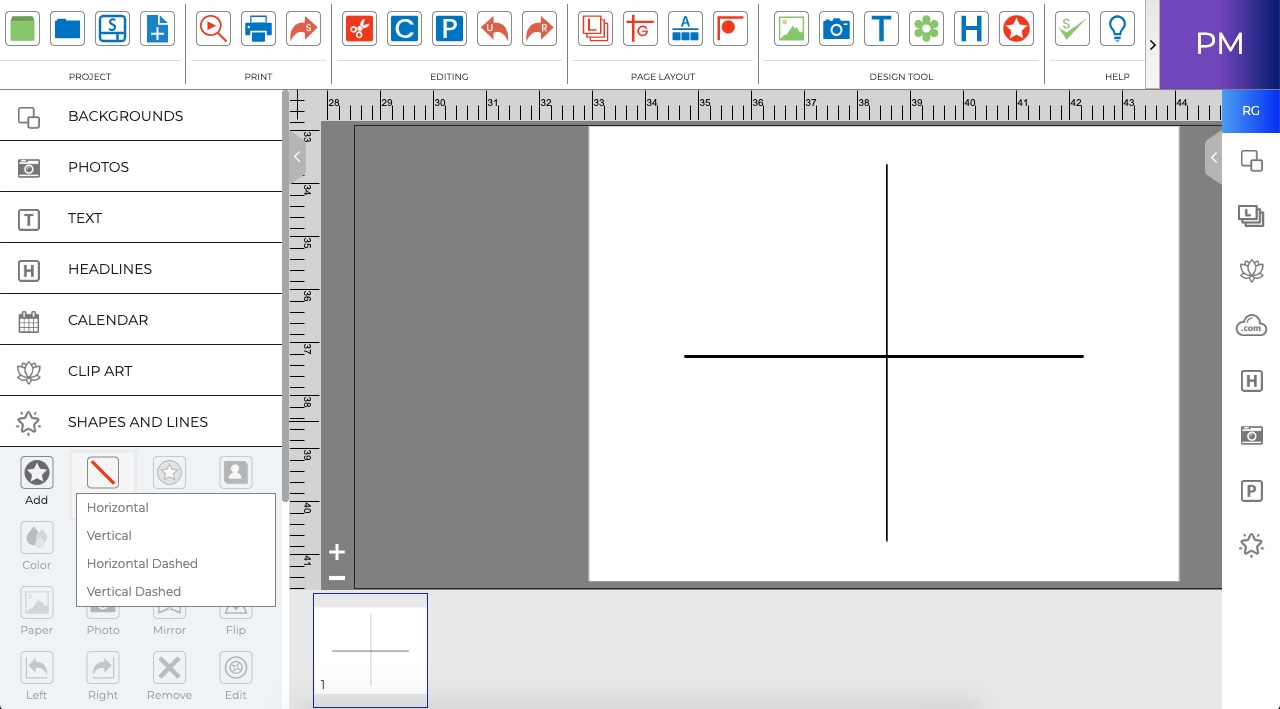
- Open the Shapes and Lines tab and click on the Add Line icon.
- Select your desired Line from the List and click on it.
- The line will appear on the Canvas screen.
Creating Custom Shapes.
- Open the Shapes and Lines tab and click on the Add icon.
- After this click on Custom icon and add your desired image as shape. Custom shape should be in .svg file format.
Related Topics