Text
There are four tools for defining text annotations to a drawing. From left to right in the Text tool palette they are:

- Horizontal Text
- Text Along Curve
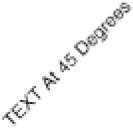
- Text at Angle
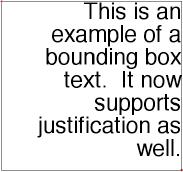
- Bounding Box Tex
Text properties, such as font, size, color, orientation, and more, are controlled on the Inspector.
Horizontal Text
The Horizontal Text command creates horizontal (left to right) text at a user specified location. Using the Text tool
- Click location for text.
- Type characters for text string.
- Click mouse to end. (Hit Return to continue placing new text entities.)
Along Curve Text
Text can be created with respect to a curve with the Along Curve command. The text is associative to the curve.
Using the Along Curve Text tool
- Select a curve for the text path.
- Click two points that specify the text up direction.
- Type characters for text string.
- Click mouse to end.

At Angle Text
Text can also be created at any angle. The angle uses the right-hand rule about the construction plane normal.
Using the At Angle Text tool
- Use the Data Entry Fields to specify text angle.
- Click location for text.
- Type characters for text string.
- Click mouse to end.


Box Text
Box Text is defined by two diagonal points used to specify the width and height of a text box. Text is automatically wrapped to the width. The new text box also supports left, right, and center justifications. In addition, you can double click on the text to edit directly on the screen. On-screen editing provides support for cutting, pasting, and copying into the text box. For example, you can copy a paragraph from another application and paste it into a text box

Convert Text to Surface 


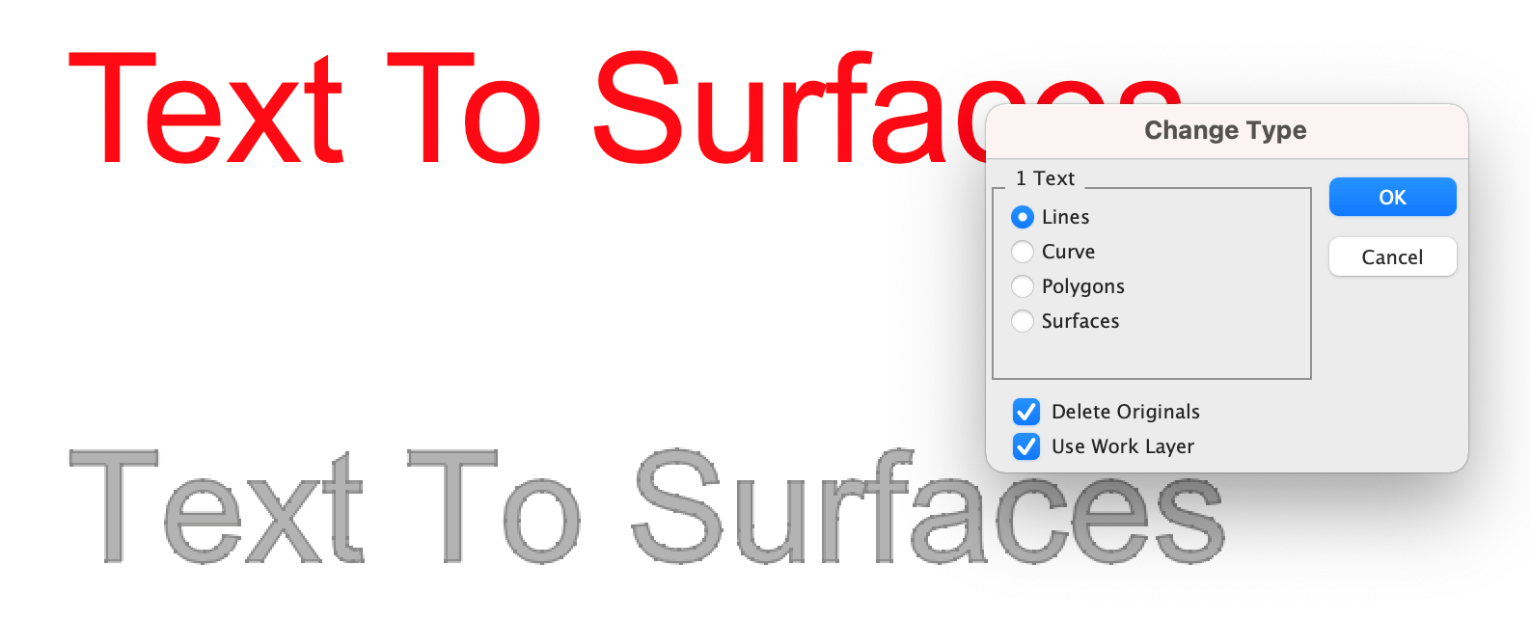
The tool for changing object types includes the capability of transforming text into ACIS surface faces.
Converting Text to a Surface:
• Choose the Text you want to transform into surface faces.
• Go to Edit > Change Object Type from the menu bar.
• Choose the Surfaces option.
• Press the Ok button.
• The text will then be converted into a single surface composed of several faces.
