Photos
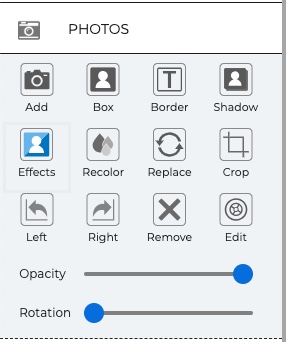
Icon Descriptions:
- Add – Add a selected photo to your page.
- Box – Add an empty photo box to your page that can be filled with a photo later.
- Border – Add a border around the selected photo.
- Shadow – Add a shadow to the selected photo.
- Effects – Apply effects such as black and white, sepia, etc. to the selected photo.
- Recolor – Recolor the selected image.
- Replace – Swap the selected image with a different photo.
- Crop – Crop unwanted portions of an image out of the selected photo.
- Left – Rotate the image left 90 degrees.
- Right – Rotate the image right 90 degrees.
- Remove – Deletes the photo from the page.
- Edit – Displays photo info and allows you to adjust the photo size and position.
- Opacity – Drag the slider left or right to increase or reduce the photos transparency.
- Rotation – Drag the slider left or right to apply a rotation.
Photo Recommendations:
Format - JPG or PNG.
Resolution - Roughly 300DPI (dots per inch) or higher recommended for printing.
Ratio - 4x4 inches (1200x1200 pixels) or larger for printing. Background or full page images should be 12x12 (3600x3600) or larger.
File Size - Roughly 10MB or less in file size. Larger files sizes can have trouble rendering.
Adding Photos
There are multiple methods for adding a photo to a page:
Add Icon.
-
Select a page.
-
Open the Photos tab.
-
Click on the Add icon.
-
Select an image from your computer and click Ok.
Gallery.
-
Select a page.
-
Select the Photo icon in the Resource Gallery.
-
Double-click or drag and drop an image from the gallery list onto your page.
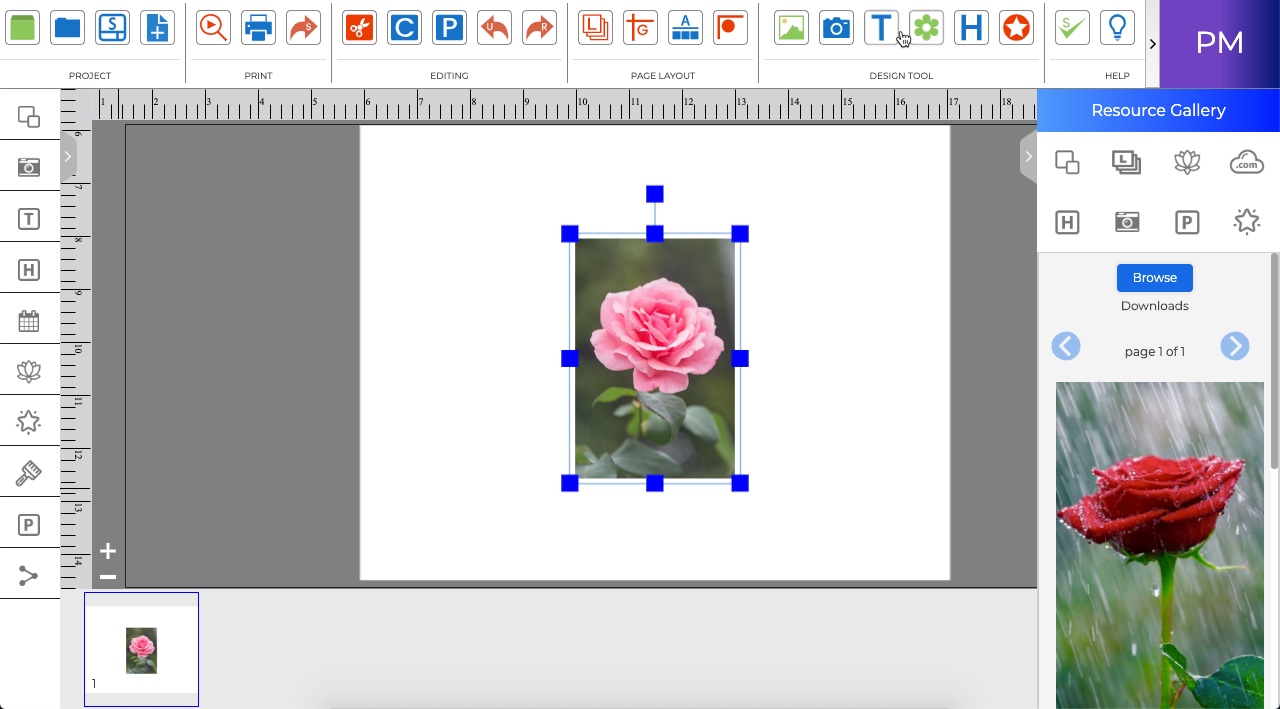
Photo Box.
- Add or use an existing photo box on the page.
- Double-click on the empty box.
- Select an image from your computer
- After this it will ask to save the image, click on Save and save the image after give location.
- Now Crop image and hit the button Apply
Drag and Drop. – You can drop images onto your page from Resource Gallery
Cop and Paste – You may copy and paste image files onto your page from one project page to other page in same project.
Borders - You may add a border or frame around a photo.
· Select a photo and click on the border icon to display the border dialog.
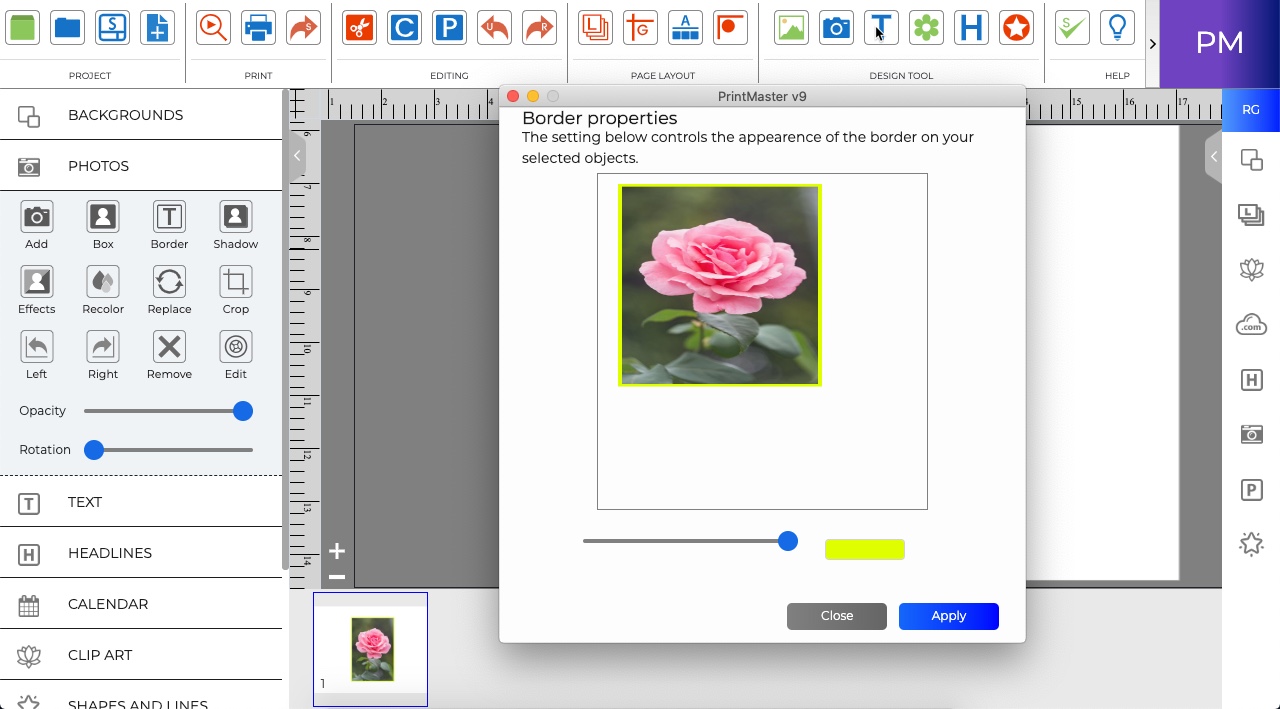
· Drag the Size slider to change the size of the border. (pixels)
· Click Change to choose a color for the border.
· Click OK to apply.
Related Topics