Interface Reference
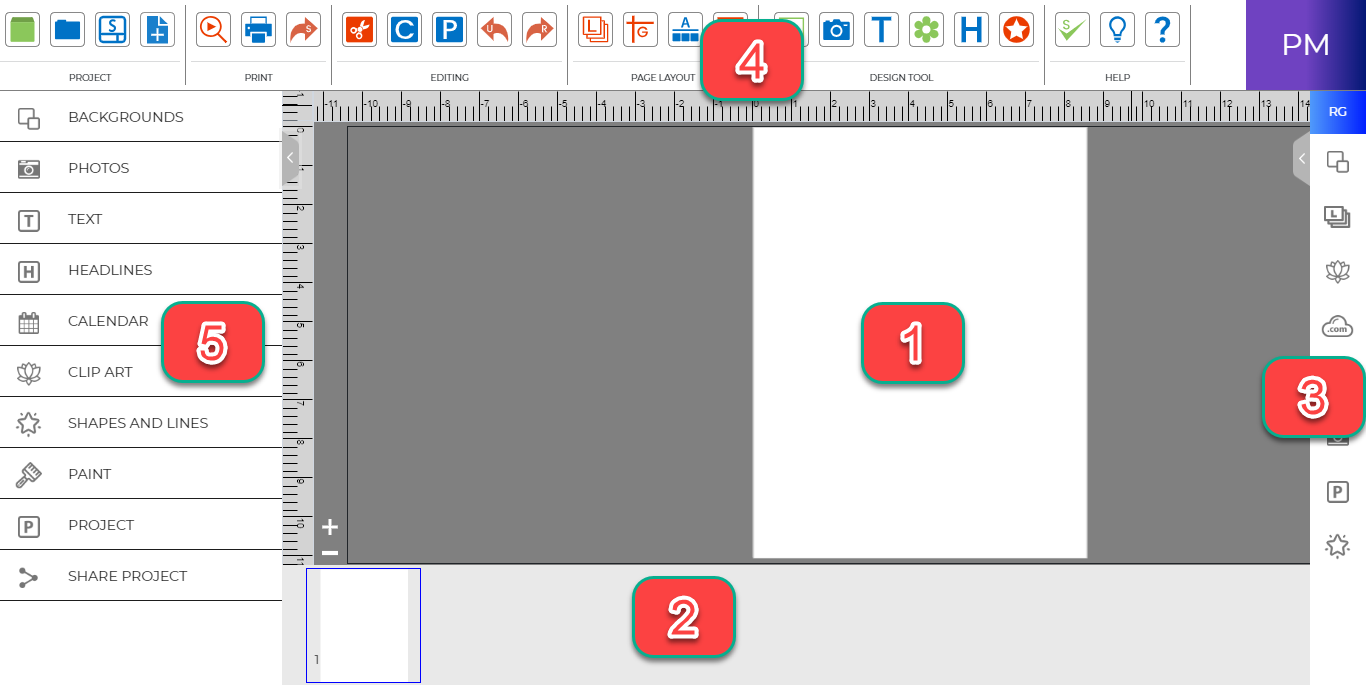
PrintMaster’s interface can be divided into five areas.
-
Page Canvas—The canvas is where you will create the project by adding backgrounds, images, and other objects to the page.
-
Page Thumbnails—The bottom area displays thumbnails of your pages. In additional you can delete or rearrange the page order.
-
Resource Gallery—Add page elements from this panel onto the canvas with double-click or drag and drop.
-
Menus and Toolbars—Most application functions can be access through this area.
-
Design Tools – Add and edit your project elements using these panels.
Page Canvas
Add backgrounds, clip art, images, text, and other objects to create your projects.
Right-Click Options
Right-clicking on an empty page canvas brings up paste options.
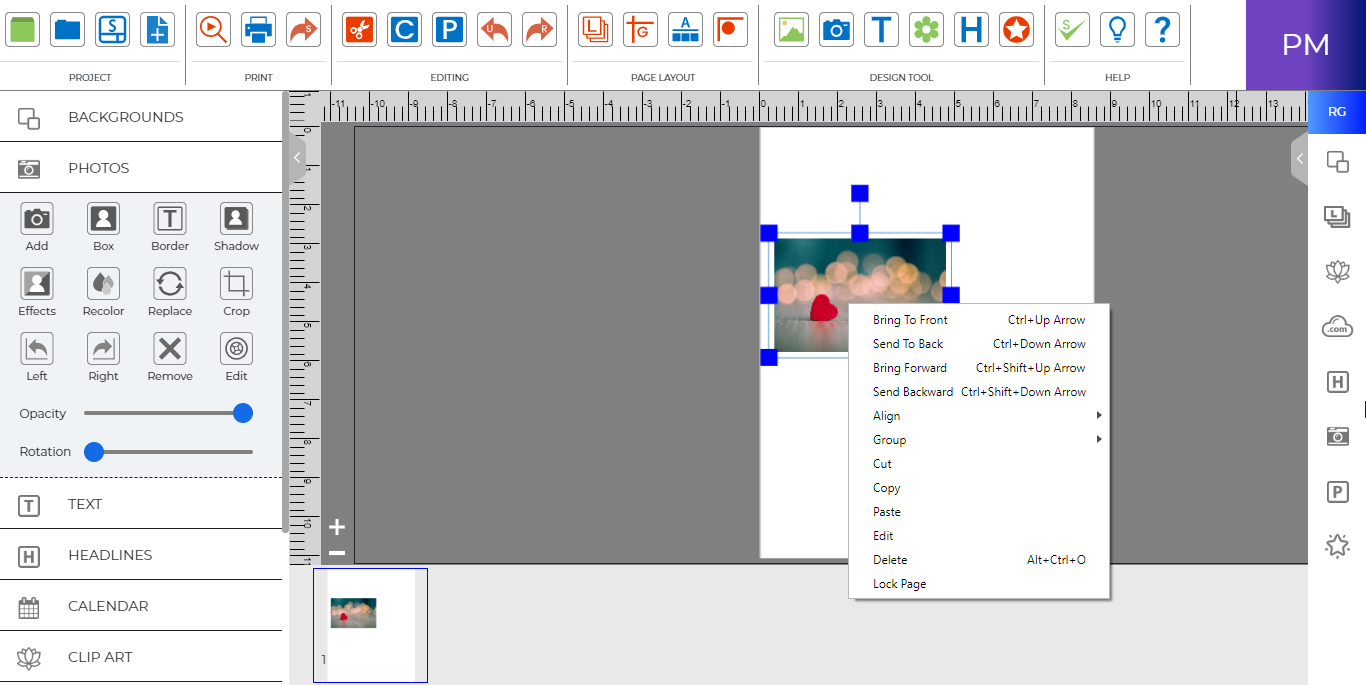
Right-click on an object to bring up the following options:
· Bring to Front – Places the object on top of all other objects.
· Send to Back – Places the object behind all other objects.
· Bring Forward – Moves the object up one layer.
· Send Backward – Pushes the object back one layer.
Align – Provides the following options for aligning objects with each other, or the page:
· Top - Aligns all selected objects to the top-most object on the page.
· Middle - Lines up the vertical middle of each selected object.
· Bottom - Aligns all selected objects to the bottom-most object on the page.
· Left - Aligns all selected objects to the leftmost object on the page.
· Center - Lines up the horizontal center of each selected object.
· Right - Aligns all selected objects to the right-most object on the page.
· Center Vertical - Places all selected objects in the vertical center of the page.
· Center Horizontal - Places all selected objects in the horizontal center of the page.
· Space Evenly – Horizontal – Horizontally spaces each object equal distances.
· Space Evenly – Vertical – Vertically spaces each object equal distances.
Group – Fixes the position of objects in relation to one another so that they can be moved, resized, and rotated without changing their position relative to each other.
· Mirror Group – Mirrors all objects in the selected group horizontally.
· Flip Group – Flips all objects in the selected group vertically.
· Ungroup – Returns a group of objects to individual objects.
Round Corners – Allows you to toggle each corner of the image to round or sharp.
Set Photo as Background – Sets the selected photo as the page background.
Rip Photo Edges – Randomly rips one or more edges of the selected photo.
Attach to Shape – Select both a text box and a shape by holding shift, text will then fill the shape.
Detach from Shape – Removes the text from an attached “text to shape” object.
Hi-Res Preview – Shows a print quality preview of the selected object.
Cut – Removes a page object from the page, but saves it in memory.
Copy – Saves a page object in memory.
Paste – Paste the page object onto the page. Pasted objects will be slightly offset.
Edit Object – Object size, location, and information. Also lets you adjust the size.
Delete – Removes a page object from the page.
Lock Object – Locks the object so that it cannot be edited.
Unlock page Ojbect – If you right-click on a locked object, you may unlock it to edit it.
Span Pages – If you have page spreads enabled, use this feature to allow the image to span between pages, rather than being cut when it reaches the edge of the canvas.
Double-Click
Double-click a photo to open the crop function.
Double-click a photo box, to add a photo to the empty box.
Double-click a clip art or shape to bring up object settings.,
Double-click a text box to edit the text.
Double-click a headline to edit the headline.
Double-click a calendar to open the Calendar Settings window.
Double-click a paint box to add new brush lines or erase.
Related Topics