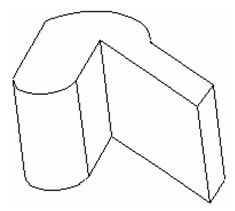
Modifying Object Geometry
As with 2D geometry, there are several ways to modify the geometry of an object. Node editing (Edit Tool) can be used on an object itself, or on the profile used to create an object. (A profile can also be moved, rotated, or scaled in Select Edit mode.) Objects in 3D can be moved, scaled, copied, and rotated in Select Edit mode (see Select Edit), in the same way as for 2D objects. The 3D Selector must be active for work in 3D (see 2D-3D Selector). In 3D Select Edit, you can move in 3 dimensions and rotate about 3 axes.
Edit Tool in 3D
Most 3D objects do not have nodes to edit. The exceptions are Box, Cone, Sphere, Hemisphere, Revolve, and Extrude. These objects have limited nodes that can be used only for scaling and orientation These nodes are lost once Boolean operations are performed. Editing nodes of 3D objects works the same way as for 2D objects (See Edit Tool). The main difference is that nodes can be moved anywhere in 3D space. Also, 3D nodes cannot be added or deleted from objects themselves (though they can be added or deleted while node editing profiles). 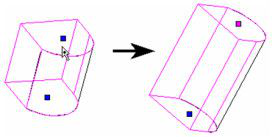
While node editing is limited, if possible at all, for most 3D solids, you can node edit an exploded surface object. You can change a solid object to a TurboCAD (non-ACIS) surface object via the 3D page of its Properties window. Explode the surface so that it can be node edited.
Tip: You can explode a solid object twice to turn it into an exploded (node editable) surface object.
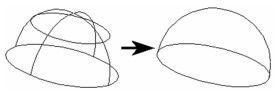
Editing Nodes of Exploded Surfaces
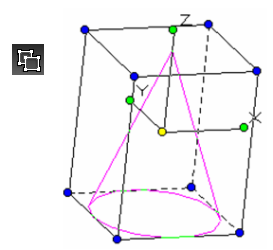
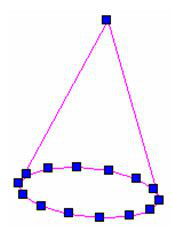
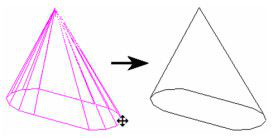
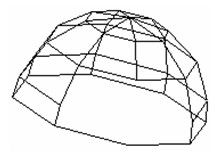
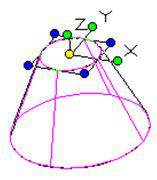
This example uses a basic cone. If it was created as a solid, and you try to node edit it, you will see that it cannot be selected.
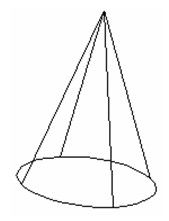
- Select the cone and open its Properties (see Object Properties). On the 3D page, select TC Surface.
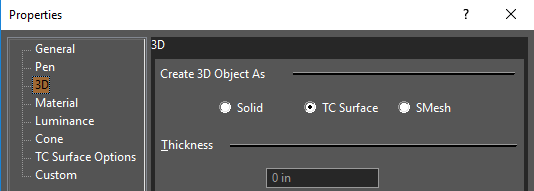
The cone is now comprised of surfaces, but it still cannot be node edited.

- Select the cone again, and click Explode (or select Modify / Explode).
- You can now node edit the cone nodes.
Note: You also could have exploded the original solid object twice to obtain an exploded (node editable) surface.
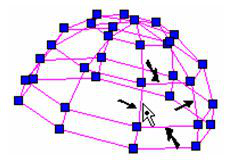
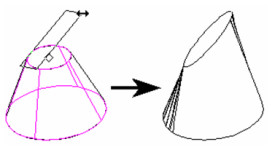
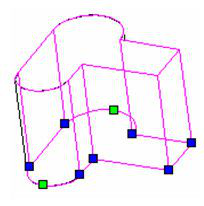
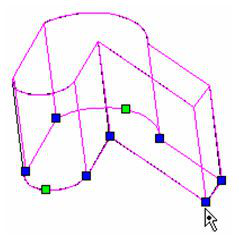
- Drag individual nodes to change the shape of the cone.
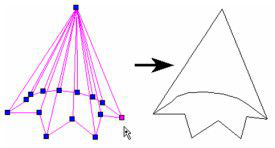
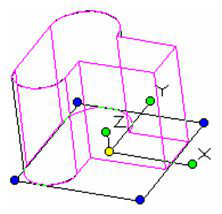
You can also drag a group of nodes simultaneously. Use a selection window to select the desired group of nodes.
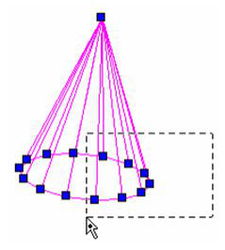
After they are selected, the nodes appear in magenta. Now when you drag any one of the selected nodes, the entire group moves.
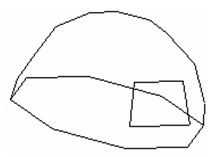
Editing Nodes of Edges of Exploded Surfaces
For exploded 3D surface objects, you can use the Edit Tool to control the visibility and usage of edges.
- Create a solid object and transform it into an exploded surface object, using the methods described in
- Node edit the object. To make an edge visible, right-click between its nodes and select Make edge visible.
- Do the same for all edges you want to show. You can hide visible edges by selecting Make edge invisible from the local menu. Press Esc twice to leave the Edit Tool, and the selected edges are shown.
- To modify form-building edges, turn them on by checking Draw form-building edges on the Display page of the Drawing Setup (Options / Display).

- Right-click on nodes you want to hide and select Make edge non form-building.
You can display edges by selecting Make edge form-building.
Profile Editing
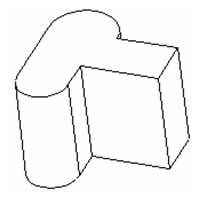
Some types of 3D objects are created by performing a function on a profile . Such objects include Simple Extrude, Revolve, and Lofting. Some standard objects are also based on profiles, such as Cone, Wedge, Cylinder, Polygonal Prism, and Torus. For standard objects, the profiles are created within the 3D tool; profile objects reference a profile that has already been created. For objects that are based on a 2D profile, you can edit the profile in Select Edit mode (see Select Edit). This example will use a Simple Extrude object, created from a closed polyline.
- In Select mode, select the object. Right-click and choose Select Profile from the local menu.
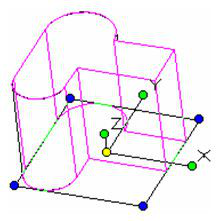
Warning: The workplane moves to coincide with the selected profile. This may change the workplane you want to be active. If needed, you can use Previous to return to the desired workplane.
- You can move, rotate, or scale the profile as you would any 2D object in Select Edit. See Select Edit
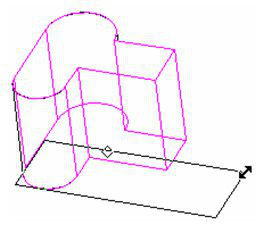
- Once the profile is edited, click outside to return to the 3D object, and click outside again to clear the selection. (You can also press Esc twice to exit Select mode.) The object is now based on the edited profile.
Editing Multiple Profiles
Some objects like truncated cones and lofts use multiple profiles. You can access and edit each profile separately. This example will use a truncated cone.
- In Select mode, select the object. Right-click and choose Select Profile from the local menu.
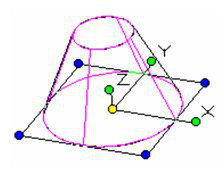
- If the selected profile is not the profile you want to edit, right-click again and choose Select Next Profile. You can use this method to scroll forward and backward (Select Previous Profile) until you reach the desired profile.
- Edit the desired profile as needed to change the object.
Editing Nodes of a Profile
If you want to edit profiles beyond the moving, rotating and scaling possible in Select Edit, you can also edit profile nodes. For details, see Edit Tool
- In Select mode, select the object. Right-click and choose Select Profile from the local menu.
- Right-click again and select Edit Node, or click Edit Node in the Inspector Bar.

The profile nodes appear.
- Drag the nodes as needed to change the profile shape.
- Return to Select mode, and then clear the selection, by pressing Esc twice.