Fillet Edges
(Available only in Platinum)
Default UI Menu: Modify/Modify 3D Objects/Modify Edges/Fillet Edges
Ribbon UI Menu:

Rounds edges of solid (ACIS) 3D objects.
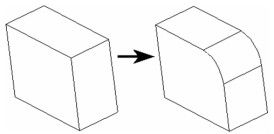
Only solid objects (not surfaces) can be selected for filleting. Filleting can either add or remove material; the material is added to a concave edge, and it is removed from a convex edge. You can choose whether to create rounded or mitered vertices.
Note: You can edit a Fillet Edges operation in the Selection Info palette.
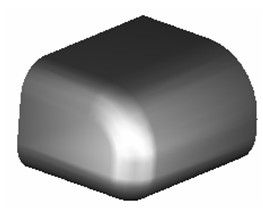
Fillet with Miter Vertices
Mitering the vertices produces rounded edges that meet at an edge at the corners. This example will use the following model.
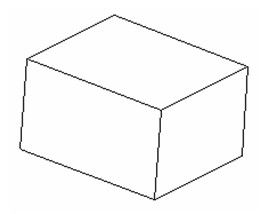
- Make sure Round vertex is disabled.

- Select the object whose edges are to be rounded. Each edge is marked with a blue square.
- Set the Start Radius radius in the Inspector Bar, and select the edges.
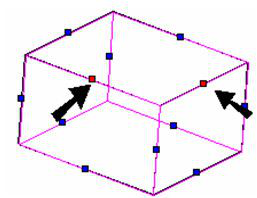
- The edges are rounded, and meet at a sharp corner.
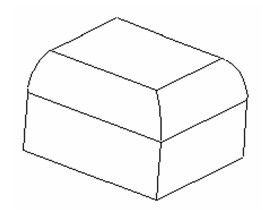
- To round another edge, select the object again and select the next edge. Make sure Pick smooth sequence is not selected.
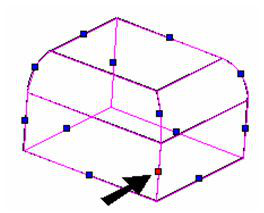
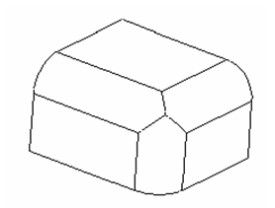
This is the result - the intersection of all three corners has sharp edges.
Pick Smooth Sequence
Adjacent edges are smoothly connected if they are connected by an arc or rounded vertex. When working with Round vertex, smoothly connected edges are automatically selected. But this is not the case when Round vertex is turned off.
- Start with a box with one filleted edge, using a large radius.
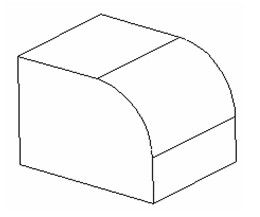
- Activate Fillet without Round vertex, and fillet one edge, using a smaller radius.
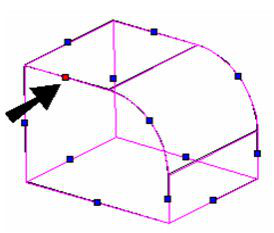
This is the result - only the selected edge was rounded.
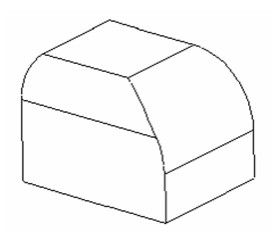
- Undo, and this time select Pick smooth sequence.

- This time when you select one of these edges for filleting, all edges in the smooth chain are selected.
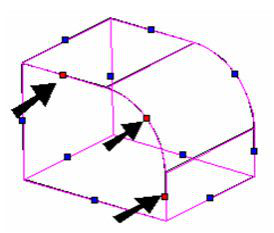
This is the result - all edges in the chain are rounded.
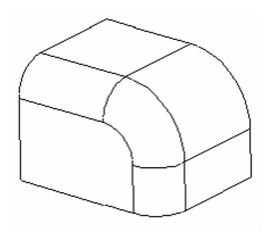
Fillet with Round Vertices
Rounding the vertices produces a smooth rounding along all edges and corners. This example will start with a box.
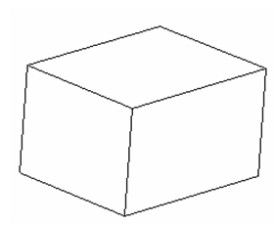
- Set the Start Radius in the Inspector Bar. Select RoundVertex in the Inspector Bar or on the local menu.

- Select the object whose edges are to be rounded. Each edge is marked with a blue square.
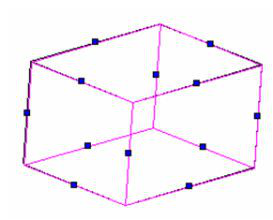
If you select Hide Marks, these edge markers will be hidden.

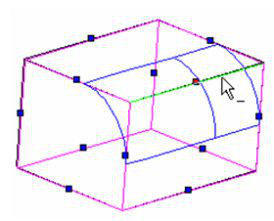
- Select the first edge to round. A preview appears showing the fillet that will result.
-
Continue selecting edges, if needed. (You can also drag a window to select multiple edges). Selected edges are indicated by a red square.
-
To complete the fillet, select Finish from the Inspector Bar or the local menu.
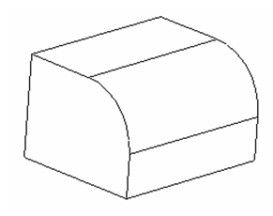
- In this example, if you select an edge that is smoothly connected to other edges, the connected edges will be selected automatically.
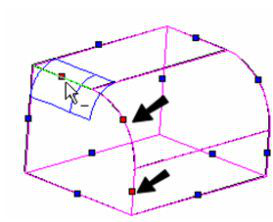
Note: Adjacent edges are smoothly connected if they are connected by an arc or rounded vertex.
- Clicking other edges will show the fillet preview along that edge.
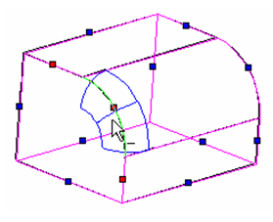
- In some cases, selecting an edge (such as the bottom front edge) will cause another edge to be rounded as well (the bottom side edge), because they meet at a common vertex. These edges are indicated by a green square.
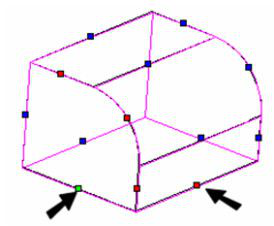
- When all edges are selected, set the rounding radius in the Inspector Bar, and select Finish from the Inspector Bar or the local menu.
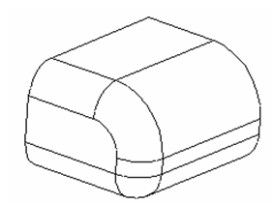
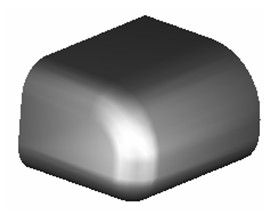
Viewing the results in render mode shows the effect of rounding. The common vertex is smoothly rounded.
Fillet with Setbacks
When rounding edges with the Round Vertex option, you can enter setbacks in the Inspector Bar. The setback is the distance from the vertex to the point on an edge where the rounding begins. Setbacks are visible at vertices where all edges are rounded. The setback value must be greater than the edge rounding radius.
- Select the object, set the radius, and select the first edge to round. When an edge is selected, the blue square turns red. If you select an edge that is smoothly connected to other edges, the connected edges will be selected automatically.
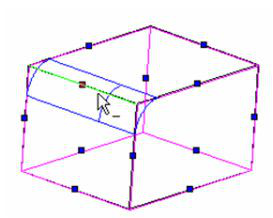
- Continue selecting edges.
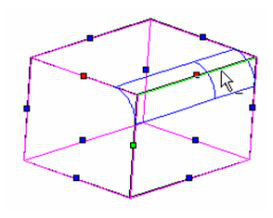
When you select two adjacent edges, any other edge that meets that vertex will be automatically selected as well, indicated by the green square.
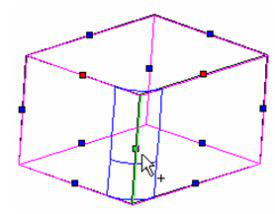
- When all edges are selected, set the rounding radius in the Inspector Bar, and select Finish from the Inspector Bar or the local menu.
If no setbacks are used, the rounding extends along the entire edge.
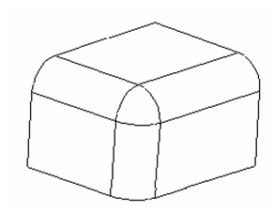
If setbacks are used (entered in the Inspector Bar), the rounding starts at the specified distance from the vertex.
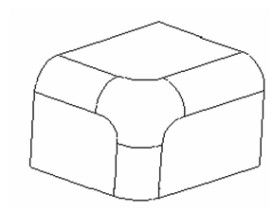
Note: If the setback values are different, where they are applied depends on the structure of the object itself. You may need to experiment to get the desired result.
Fillet with Variable Radius
For all rounding types, you can use the Unequal Radius option to specify the radius at the start and end of the edge.

- Specify the Start Radius and End Radius in the Inspector Bar.

- Select the object, and select the edge or edges to round. For each edge, a small magenta arrow indicates the direction of the edge, so that you will know where the Start Radius and End Radius will be applied. You can reverse the direction by pressing Ctrl and selecting again.
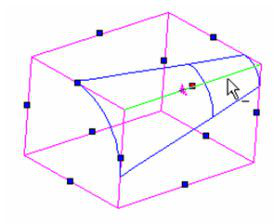
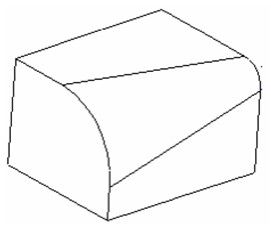
The edge is rounded with a varying radius.
Holdline Blend

This option allows you to impose limits and shape to the fillet you are creating. This is done by selecting line, circles, arcs, and curves to define the boundary of a fillet.
- Select the Fillet tool.
- Select the object to be filleted.
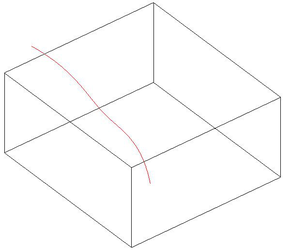
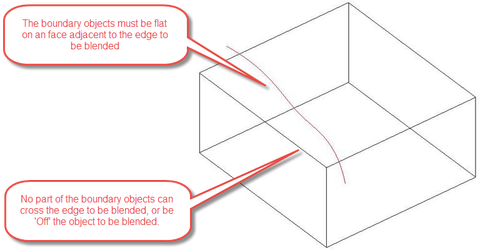
- Select the Holdline Blend option.

- Select the edge/s to be filleted.
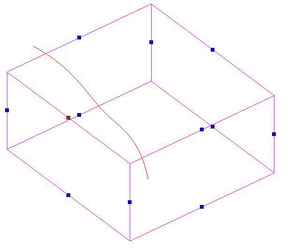
-
Select Finish from the Local menu or Inspector bar.
-
Select Holdline.
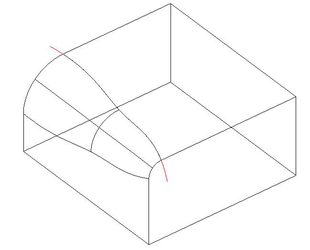
Editing the Hold Line
You can change the holdline by moving or node editing to change the variable blend. By Moving: 
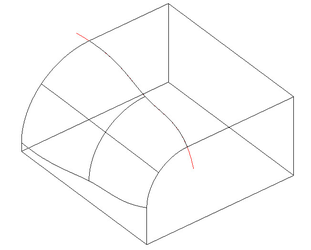 By Node Editing:
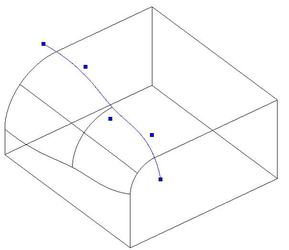
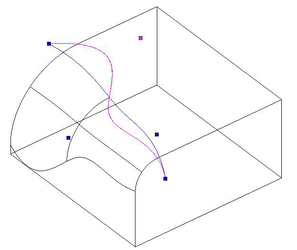
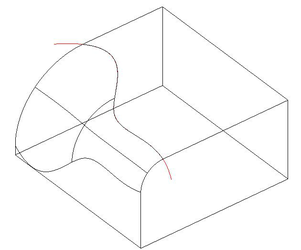
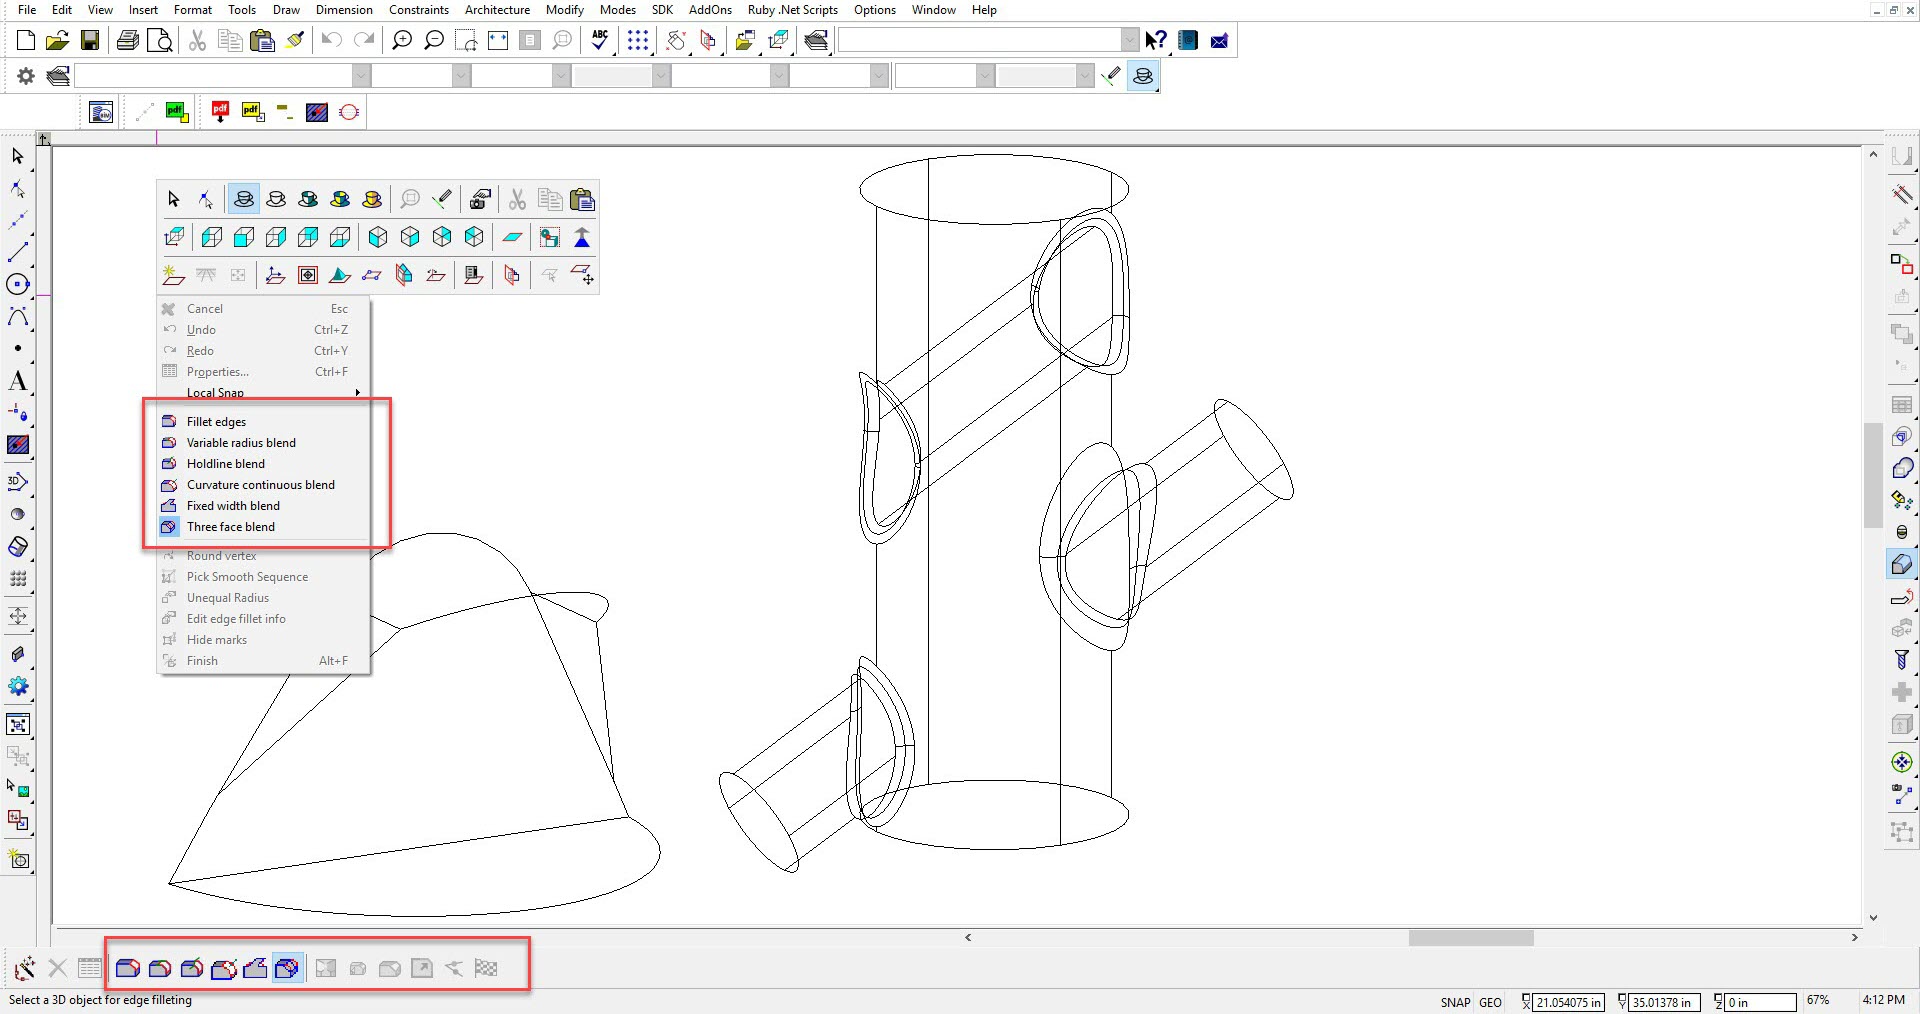
Below are three new Blend types that were added in TurboCAD 2019.
Curvature Continous Blend
This option allows you to create explicit blends.
The blend surface will be curvature-continuous with both faces.
To make it you should:
- Define Radius, using inspector bar
- Select Edge by click
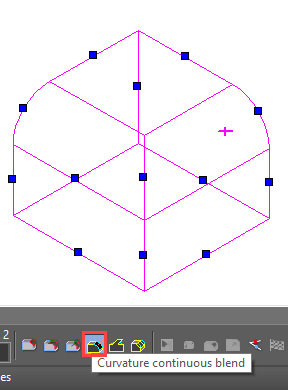
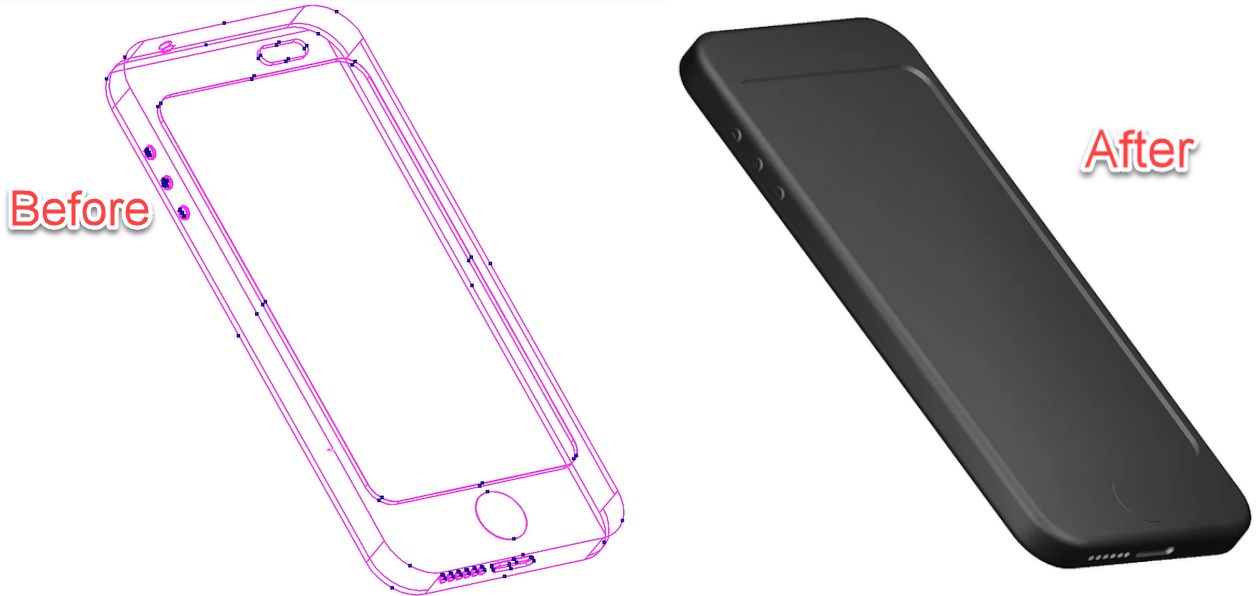
It is a single click blend. You cannot select more than one edge.
Example 2:
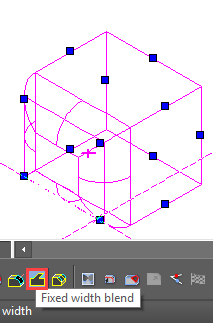
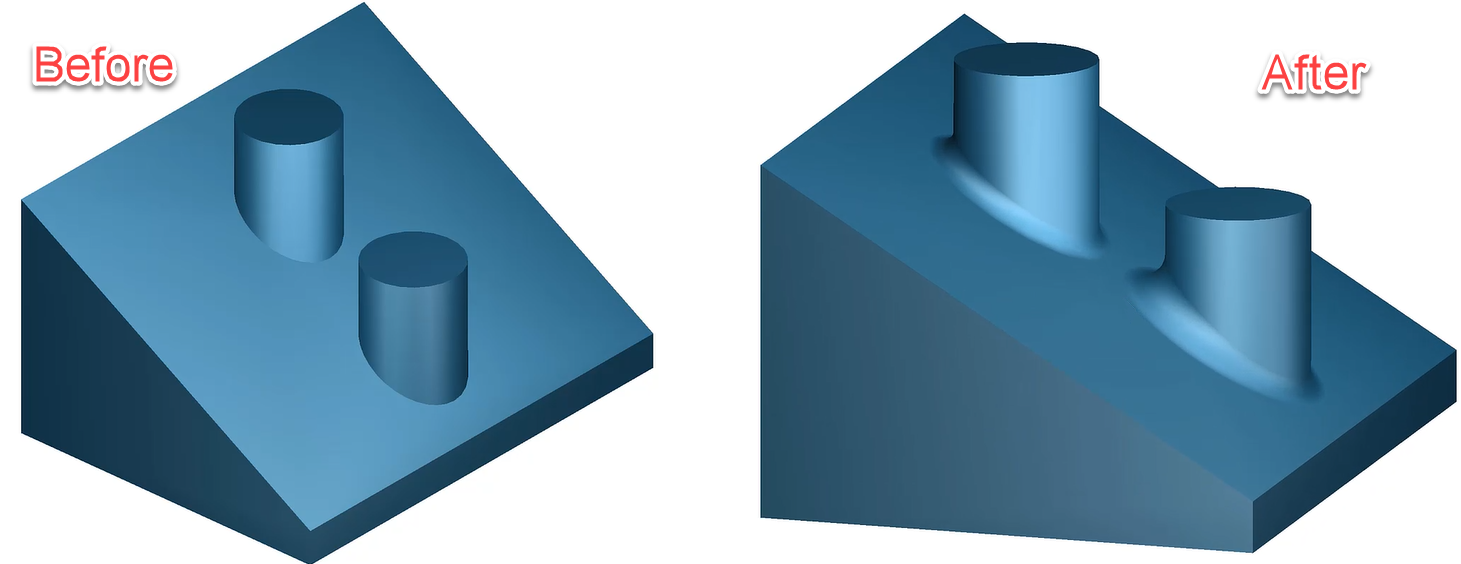
Fixed Width Blend
Creates a blend with a fixed width between the two spring curves of the blend. The actual blend radius is calculated implicitly along the blend to produce a blend with a constant cross-sectional width.
To make it you should:
- Define width,
- Select edges,
- Finish
Example 2:
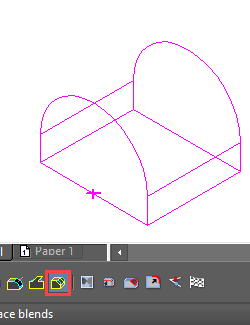
Three Face Blend
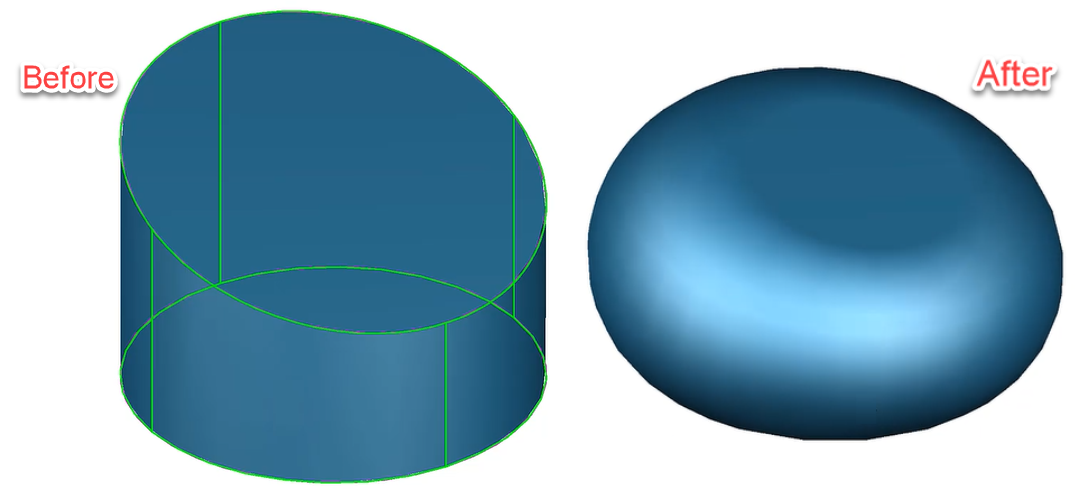
It is for a variable radius of three face blend. The blend surface will be tangent to all three support faces. The cross-section of the blend surface is circular and the variable radius of the blend is driven by the requirements of tangency to the surfaces.
To make Three Face Blend you should:
- Select Left face
- Select Right Face
- Select Center Face
Example 2:
Variable Blend
This option allows you to create a complex blend by using a series of point to specify radii. The Part Tree must be active for all of the features of Variable blending to work. But the points must be EXACTLY on the original edge (to 8 significant digits). Use the N SEKE (near) or Near snap to ensure correct placement. Do not use the Dot or AutoCAD point options as they are infinitely small and the Variable Blend option uses the size of the point to control the size of the fillet.
- Use the point tool to set points along the edge that is to be filleted.
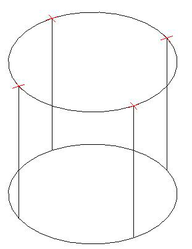
-
Select the 3D Fillet tool.
-
Select the Variable Blend option.
-
Select the object to be filleted.
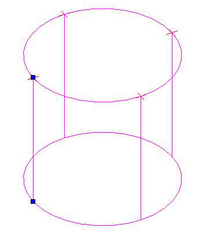
- Select the Edge to be filleted.
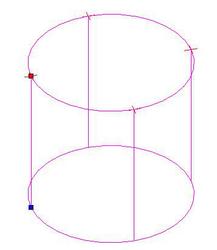
-
Select Finish
-
Select the points that will be used to control the variable blend.
-
Select Finish.
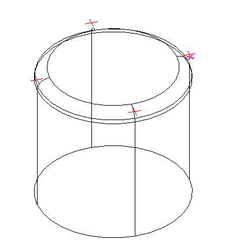
Changing the Fillet Radii
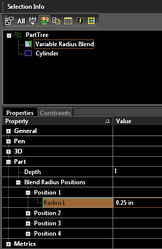
You can adjust the radii of the various fillet points by using the Blend Radius Positions in the Part Tree.
- Select the Variable Radius Blend in the Part Tree
- Expand each position field to be edited.
- Type in a new value for the Radius.
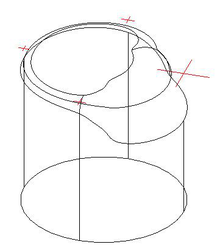
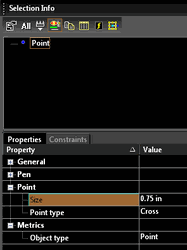
You can also adjust the value of each radius by changing the size of the controlling points.
- Select the point
- Go to the Selection info palette.
- Expand the Point section.
- In the Size field, enter a new value for the size of the point/radius.
