Photo Box
-
Add or use an existing photo box on the page.
-
Double: click on the empty box.
-
Select an image from your computer and click Ok.
-
Drag and Drop: You can drop images onto your page from a folder on your computer.
-
Copy and Paste: You may copy and paste image files onto your page as well.
-
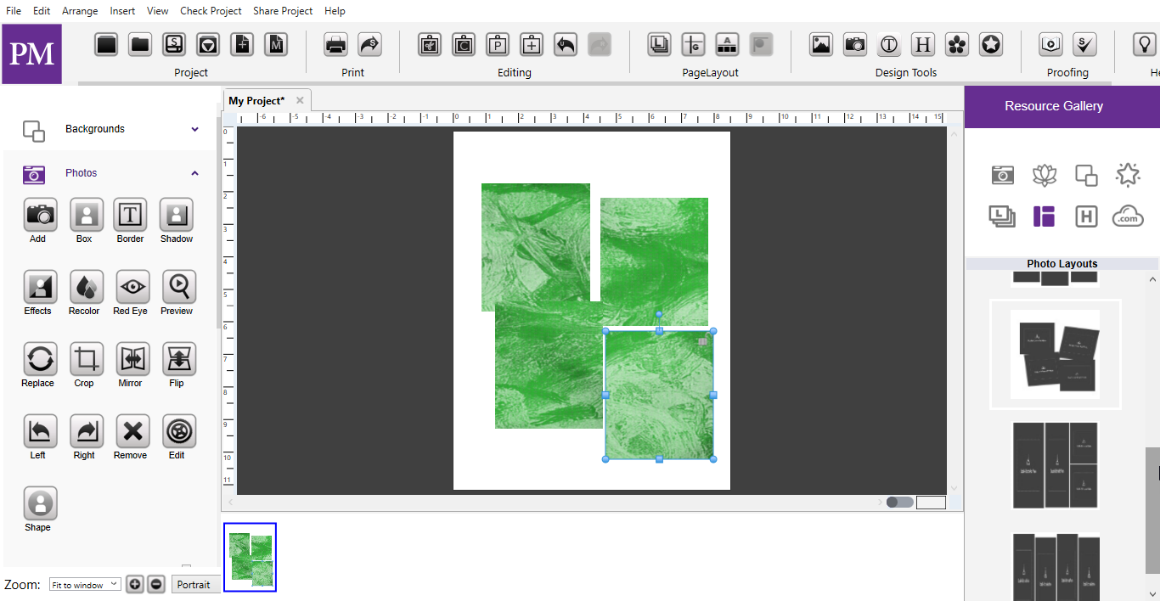
Photo Tiling: Allows you to fill multiple photo boxes with a single image.
-
Open the Photos tab under Design Tools.
-
Click on the Add Photo Box icon to place an empty box on your page.
-
Repeat this process, size, and position multiple boxes throughout the page.
-
While holding the shift key, select multiple boxes with a left-click.
-
Once all the boxes are selected go to the Arrange menu > Group.
-
Open the photos tab in the Resource Gallery.
-
Drag and drop an image from the gallery onto the grouped boxes
-
The image will fill the space of the grouped boxes leaving space between boxes.