Drawing Fences and Gates
With Architect 3D, you can draw fences and gates with ease. Once a fence or gate is drawn, you can customize it by applying any material or paint color.
The following options are available from the Fence toolset:
-
Fence
-
Fence Gate
Fence
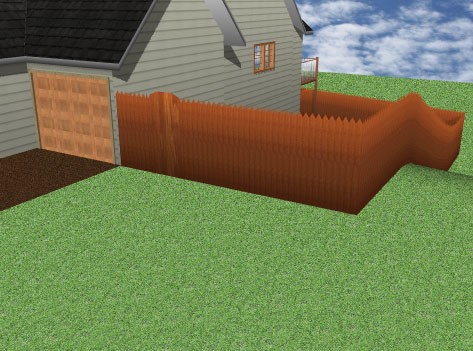
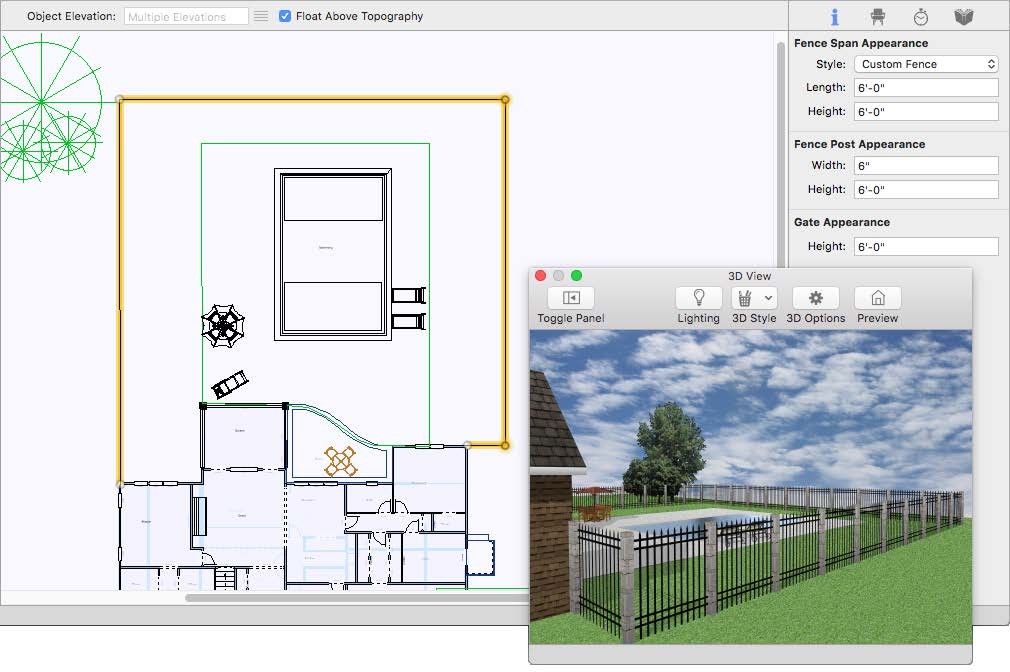
Fences are drawn to follow your topography. When the tool is active you can choose the style you want from the Properties pane in the right sidebar. You can also change the style after the fence has been placed by selecting the fence in your drawing and choosing a different style.
The pre-configured fence styles have set measurements that cannot be changed. To add a fence that you can edit, either before or after you draw, choose the Custom Fence option from the Properties pane.
To add a fence
1 Choose the Fence button  from the Landscape Tools group.
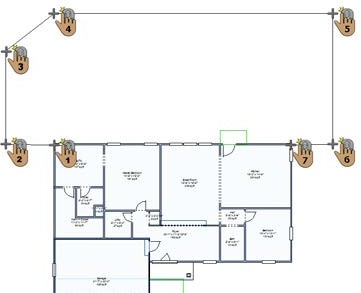
2 In the design window, click to set the start point and drag to define the shape of the fence.
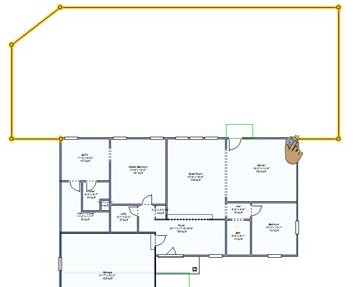
3 Continue to click points and drag to define the shape of the fence and then right-click to place.
 |
 |
|---|---|
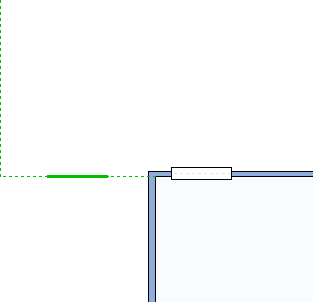
Fence Gate
Using the Gate Tool you can add a gate along a fence segment. The gate style always conforms to the fencing material, so if a gate is placed on a privacy fence, the gate will be a privacy fence gate. You can set the gate width on the Properties pane you add it, or by dragging its end points after you’ve added it in your design.
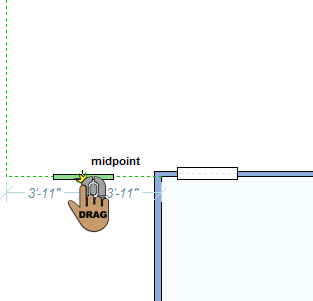
To add a gate
1 Choose the Gate button  from the Landscape Tools group.
2 Use the Drag Along Wall drawing method to position the gate on the fence and release to place.
 |
 |
|---|---|