Line Styles
Default UI Menu: Options/Drawing Setup/Line Styles
Ribbon UI Menu:
View predefined line styles, modify or delete them, and create new ones.
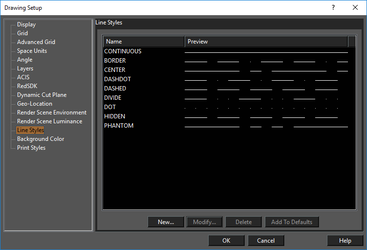 An object's line style can be set in the Property toolbar or in the Pen page of its Properties.
If you click New or Modify, you will access the Line Style Editor. Add to Defaults: New line styles will be saved so that they can be used in future drawings. Otherwise the line styles will be used only in the current drawing.
Tip: You can use the TC Explorer Palette to view line styles defined for any open drawing.
Applying a Line Style
To apply the line style, you can use the Property toolbar. You can also set the line style, and adjust its scale, in the Pen page of the object's Properties.
- Create the object, which appears in the default line style.
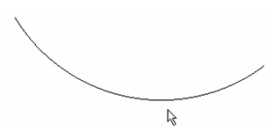
- Select the desired line style from the Property toolbar.
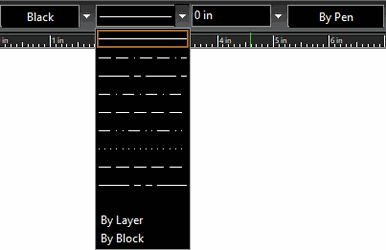 The line style is applied.
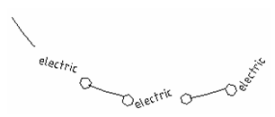
Tip: You can use the TC Explorer Palette to view line styles defined for any open drawing, and to import line styles from one drawing to another. See Drawing Settings.
Line Style Editor
Enables you to edit an existing line style or define a new one.
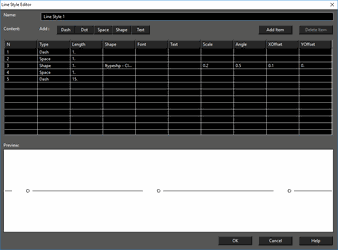 The example shown above (line style "Utility") has four components: one dash, one text, and two shapes (hexagons). You can also add dots and spaces. Either click Add Item to add another component, or click the relevant button (Dash, Dot, etc.)
For each type of line style component you can set various parameters. For Shape you can choose the actual shape and its size and spacing. For Text, you can choose the font and angle. The Preview window helps you see how the line style will look; use it as a guide when adjusting the parameters.
Note: Shapes are read from .shx files (not to be confused with .shx font files), found in TurboCAD's Shapes folder. For Example: My Documents\TurboCAD 2018 Professional x64\Shapes
Once the line style has been created, it appears in the Line Styles page of the Drawing Setup.
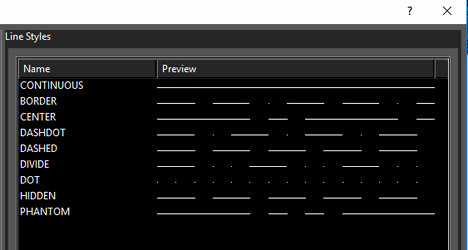
The new style also appears on the Property toolbar.