Default UI Menu: Constraints/Symmetric
Ribbon UI Menu:

Makes two objects, or object endpoints, symmetric with respect to a symmetry axis.
-
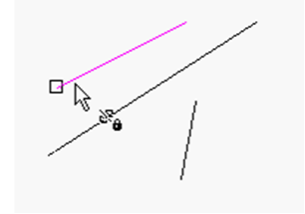
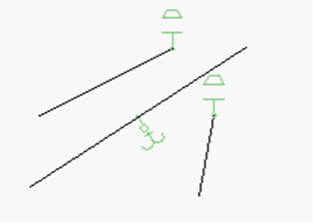
Start with three lines - one of which is the symmetry line. In some cases the symmetry line will move as a result of this constraint, so if you want it to remain in place, fix it with a constraint such as Fix Geometry.
-
Activate the Symmetric constraint and select the first line.
- Select the second line.
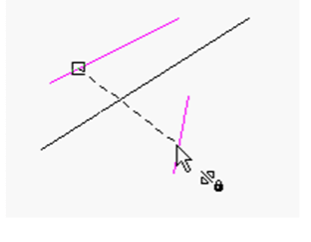
- Finally, select the symmetry line.

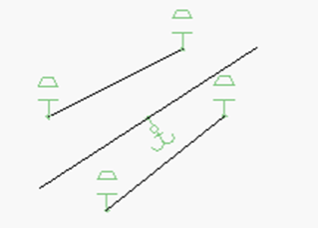
The first two lines are now symmetric with respect to the third.
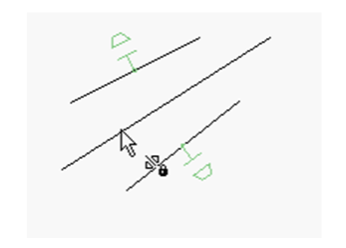
- You can also use this constraint on endpoints. Select Vertices 1 and 2, then select the symmetry line.
The lines themselves keep their orientation, but their endpoints are symmetric.
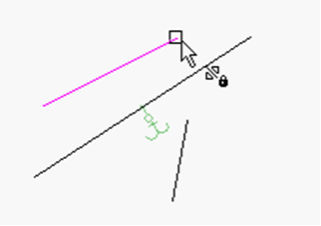
- To make both lines completely symmetric, apply the Symmetric constraint to the other two endpoints.
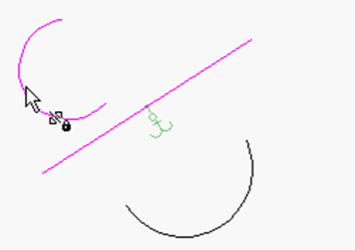
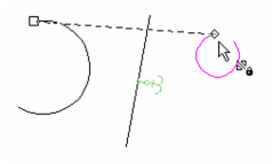
- This constraint can also be used on circles and arcs. If you select two arcs (not at their endpoints) . . .
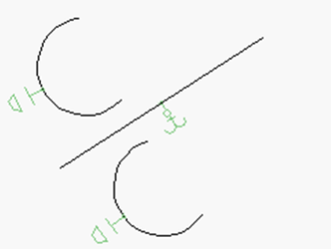
... they will become symmetric and have equal radii.
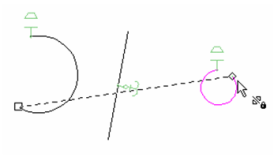
- Like with lines, you can apply the Symmetry constraint at both sets of endpoints. First the upper endpoints . . .
- . . . then the lower endpoints.
The result is that both sets of endpoints are symmetric, but the orientations of the arcs are still different, because they have different radii.
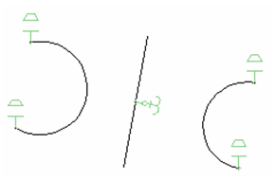
- You can make the arcs completely symmetric by adding an Equal Radius constraint.

Note: You could get the same results if you apply three Symmetric constraints - one to the arcs themselves, and one for both sets of endpoints.