Typing Lessons
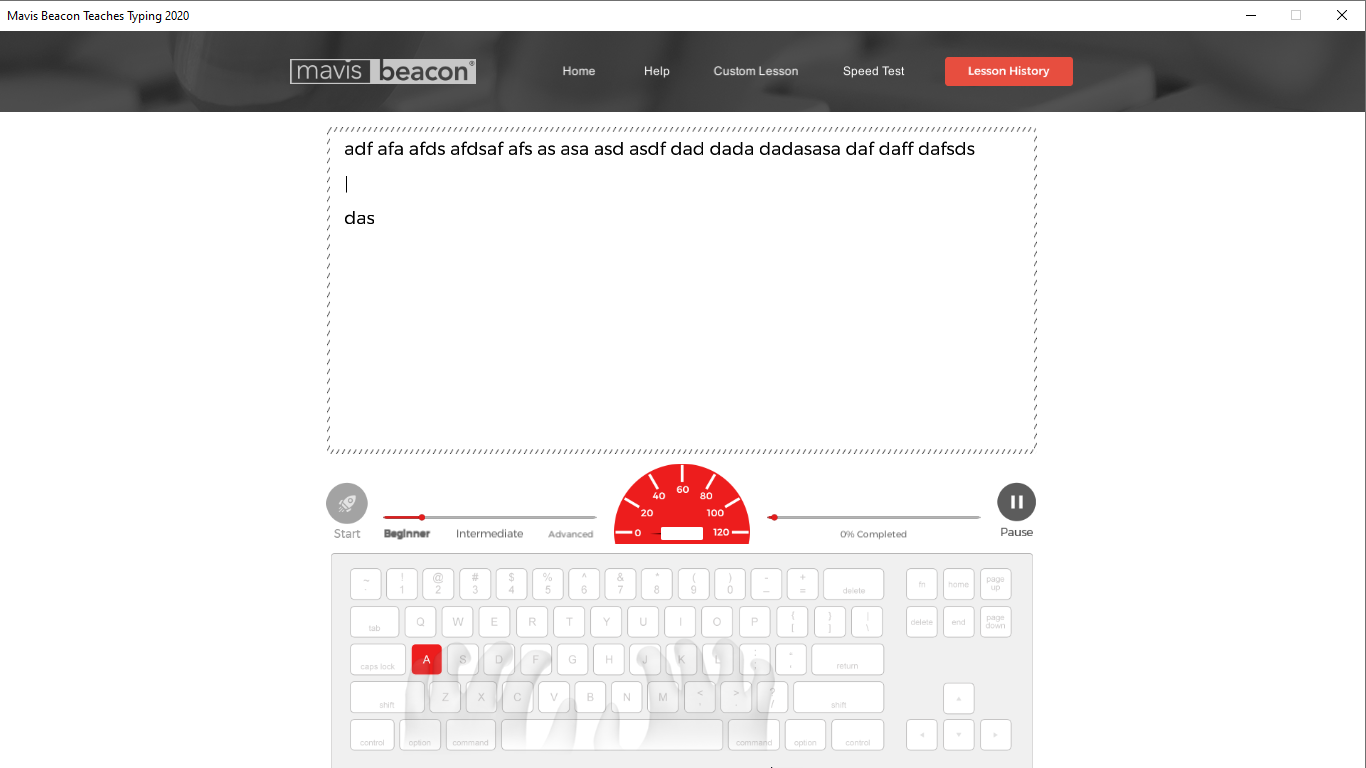
- The Start button on the far‐left side of the Lesson Dashboard lights up when the program is ready for you to begin the lesson. To begin typing, click Start. Type the characters as they appear on your screen until the lesson is finished. Standard mode is the default setting for displaying text in the typing lessons. In Standard mode, the characters display beneath and between the lines of lesson text. If you do not like the way the text displays, you can change the mode from Standard to Overstrike on the Settings screen. In Overstrike mode, the characters you type do not display between lines; they display above the lesson text.
2.If you want to take a break during a typing lesson, click the Pause button on the far‐right side of the Lesson Dashboard. On the Pause menu, you can select Resume, Start Over, or End. The Start Over option returns you to the beginning of your current lesson and resets the WPM/KPM Gauge, Text, and Percent Complete meters, and Time Remaining clock. The Resume option returns you to the test, and the End option returns you to the Home screen. Your typing score and analysis information are only saved when the entire lesson is completed.
3.Once you have completed a lesson, you are shown your results.
4.To begin the next lesson, click Start or press the Enter or Return key on your keyboard. You must successfully complete section quizzes in order to progress through the typing lessons.
5.To access a previous lesson, click the Lesson History button at the top of the screen. On the Lesson History screen, you can select any of the last several lessons that you completed and click Start to retake it.